How to Properly Light a Photo Booth

Calvin Sims
Calvin Sims
Proper lighting is essential to high-quality photos. Optimal lighting can make all the difference, enhancing facial features and creating a flattering atmosphere for your guests. On the other hand bad lighting is a recipe for disaster. Not enough light and your photos will turn out blurry and your USB camera won't focus fast enough. Too much light and your guests will look like 2D cut-outs. So here are some tips on how to properly light a photo booth.
Types of Lights
There are various types of lighting equipment available that can be used for photo booths. Here are some of the most popular ones:
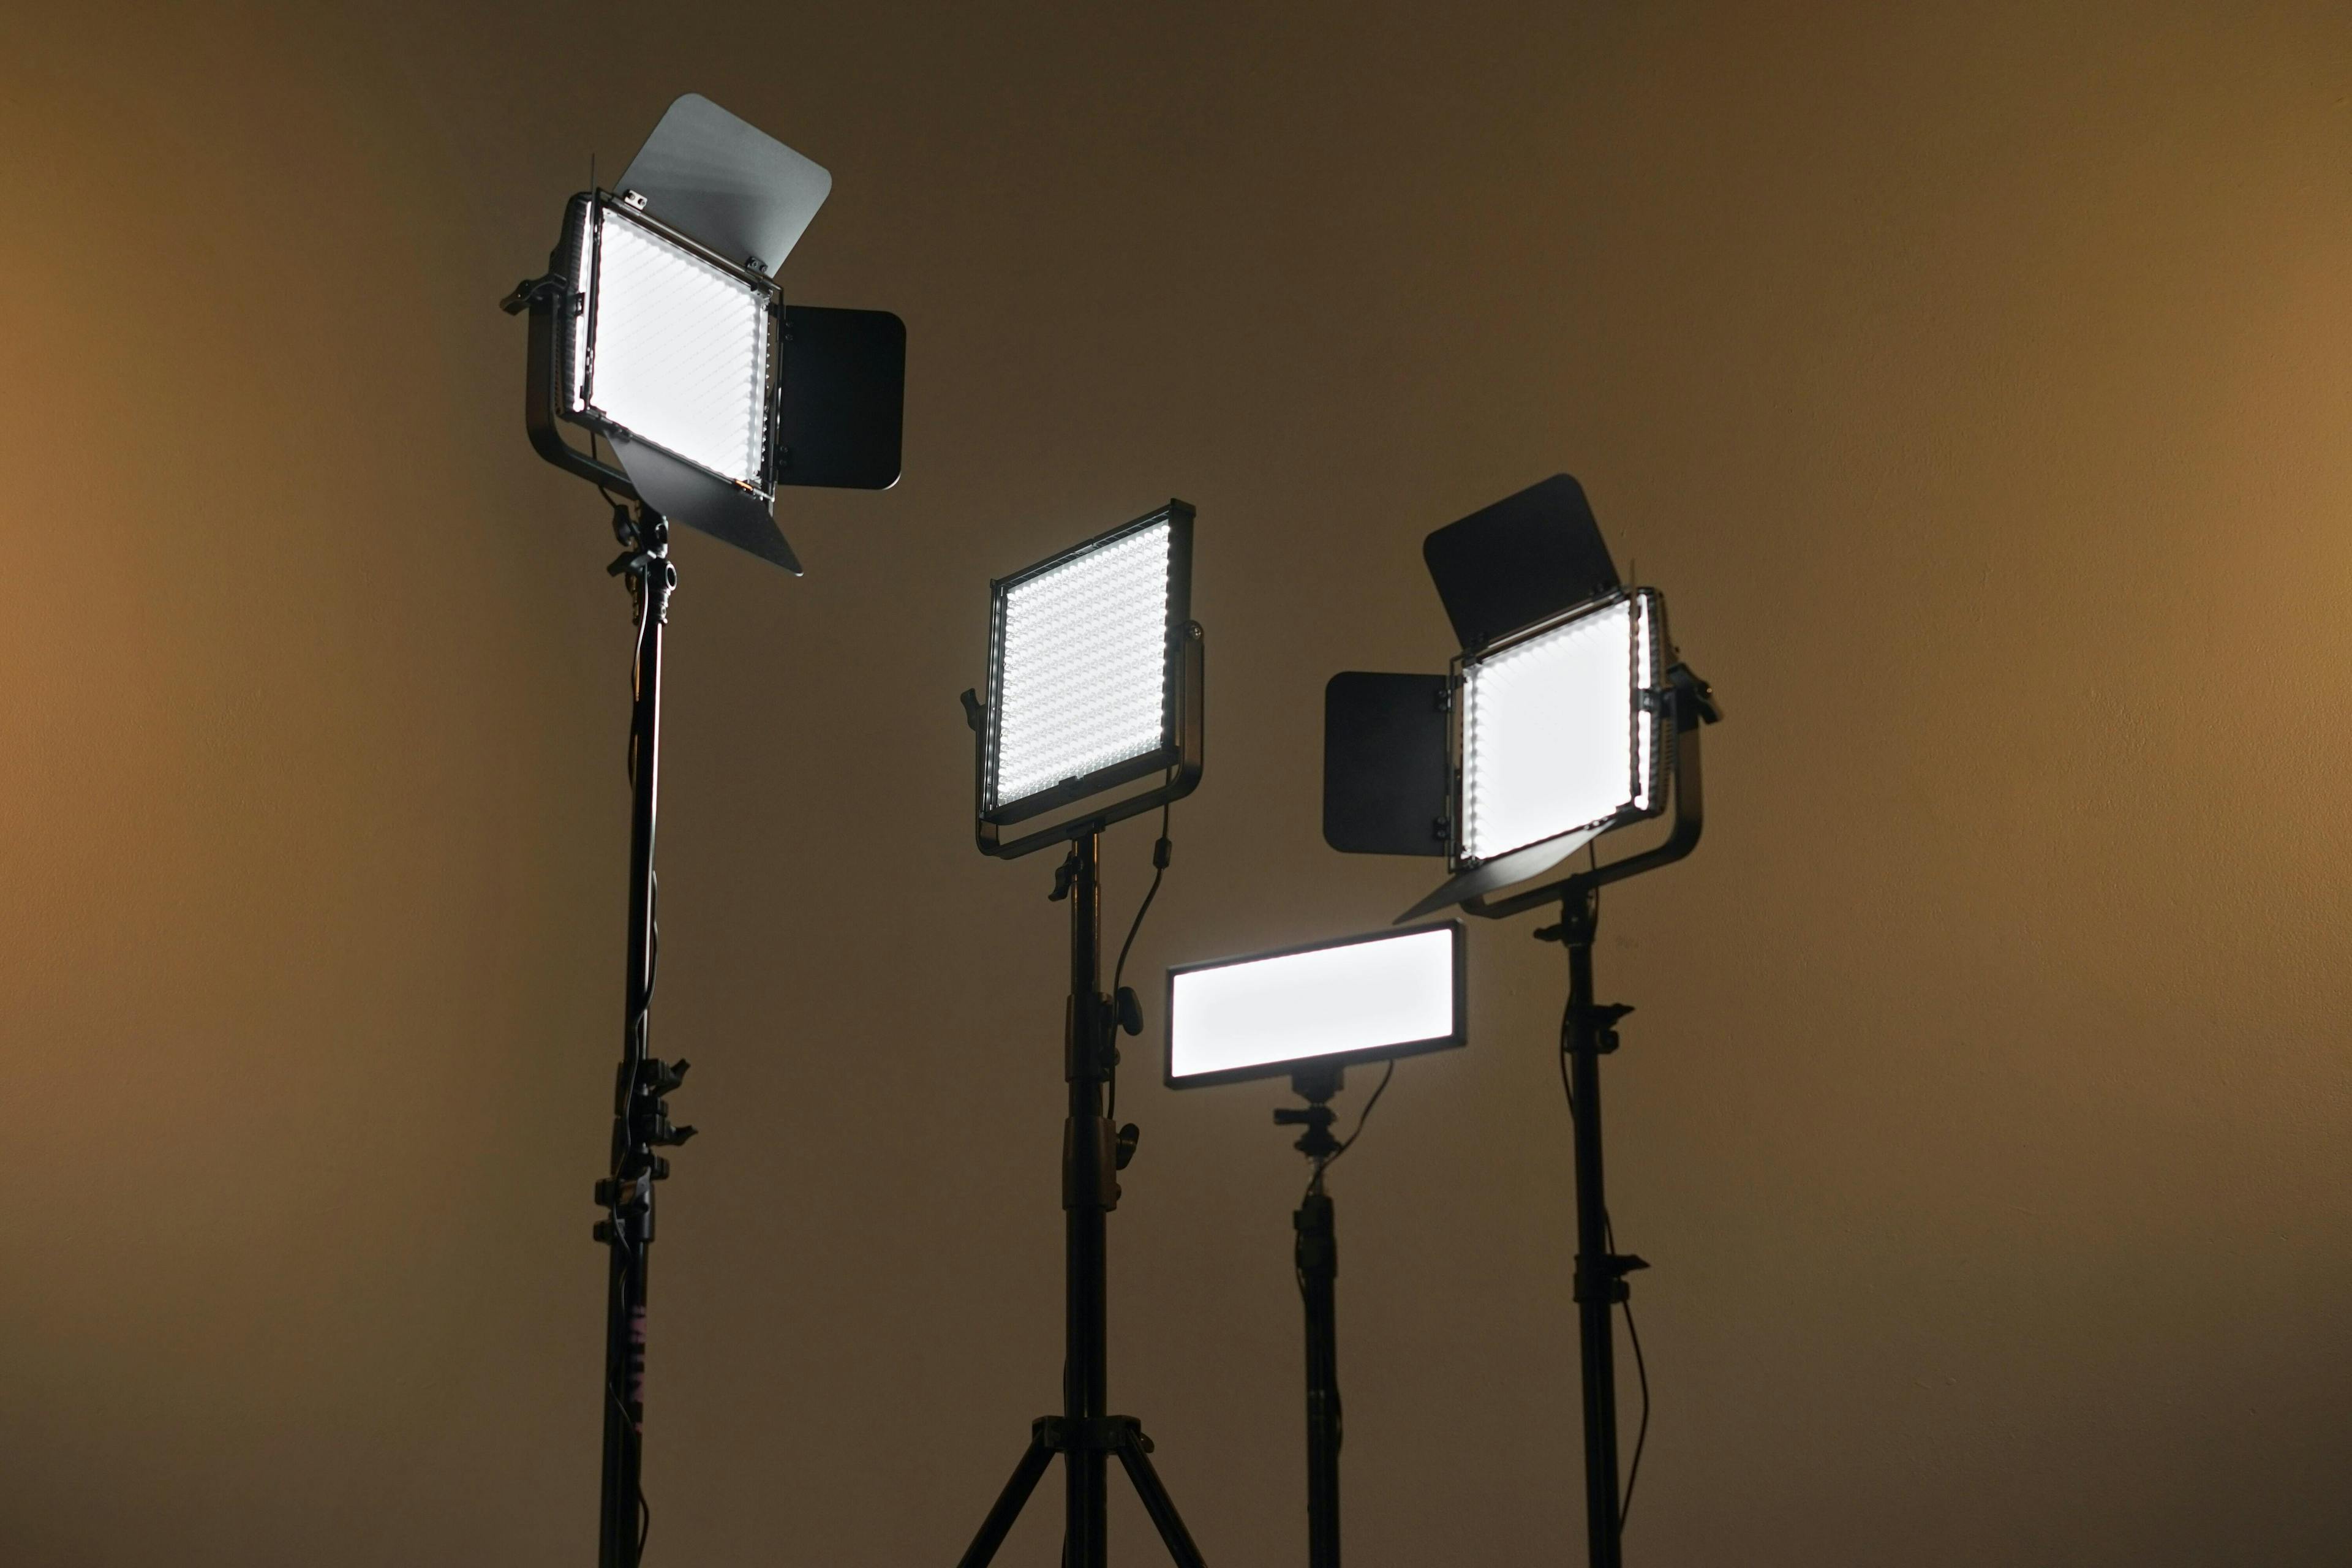
Constant lights: These are lights that emit a continuous source of light such as LED panels or tungsten bulbs. They are ideal for photo booths because they are affordable, easy to use, and don't require any additional equipment. White LEDs can make your photos (and guests) look pale and sad, so get a light panel that includes yellow or orange LEDs so you can adjust the color temperature. In the office we have a Neewer LED panel that works well for us.
4 LED panels shining in different directions
Ring lights: The preferred constant lighting solution of the social media influencer, these are circular arrays of LEDs that fit around a camera lens and provide even illumination from every angle on the subject's face. They are great for close-up shots and portraits.
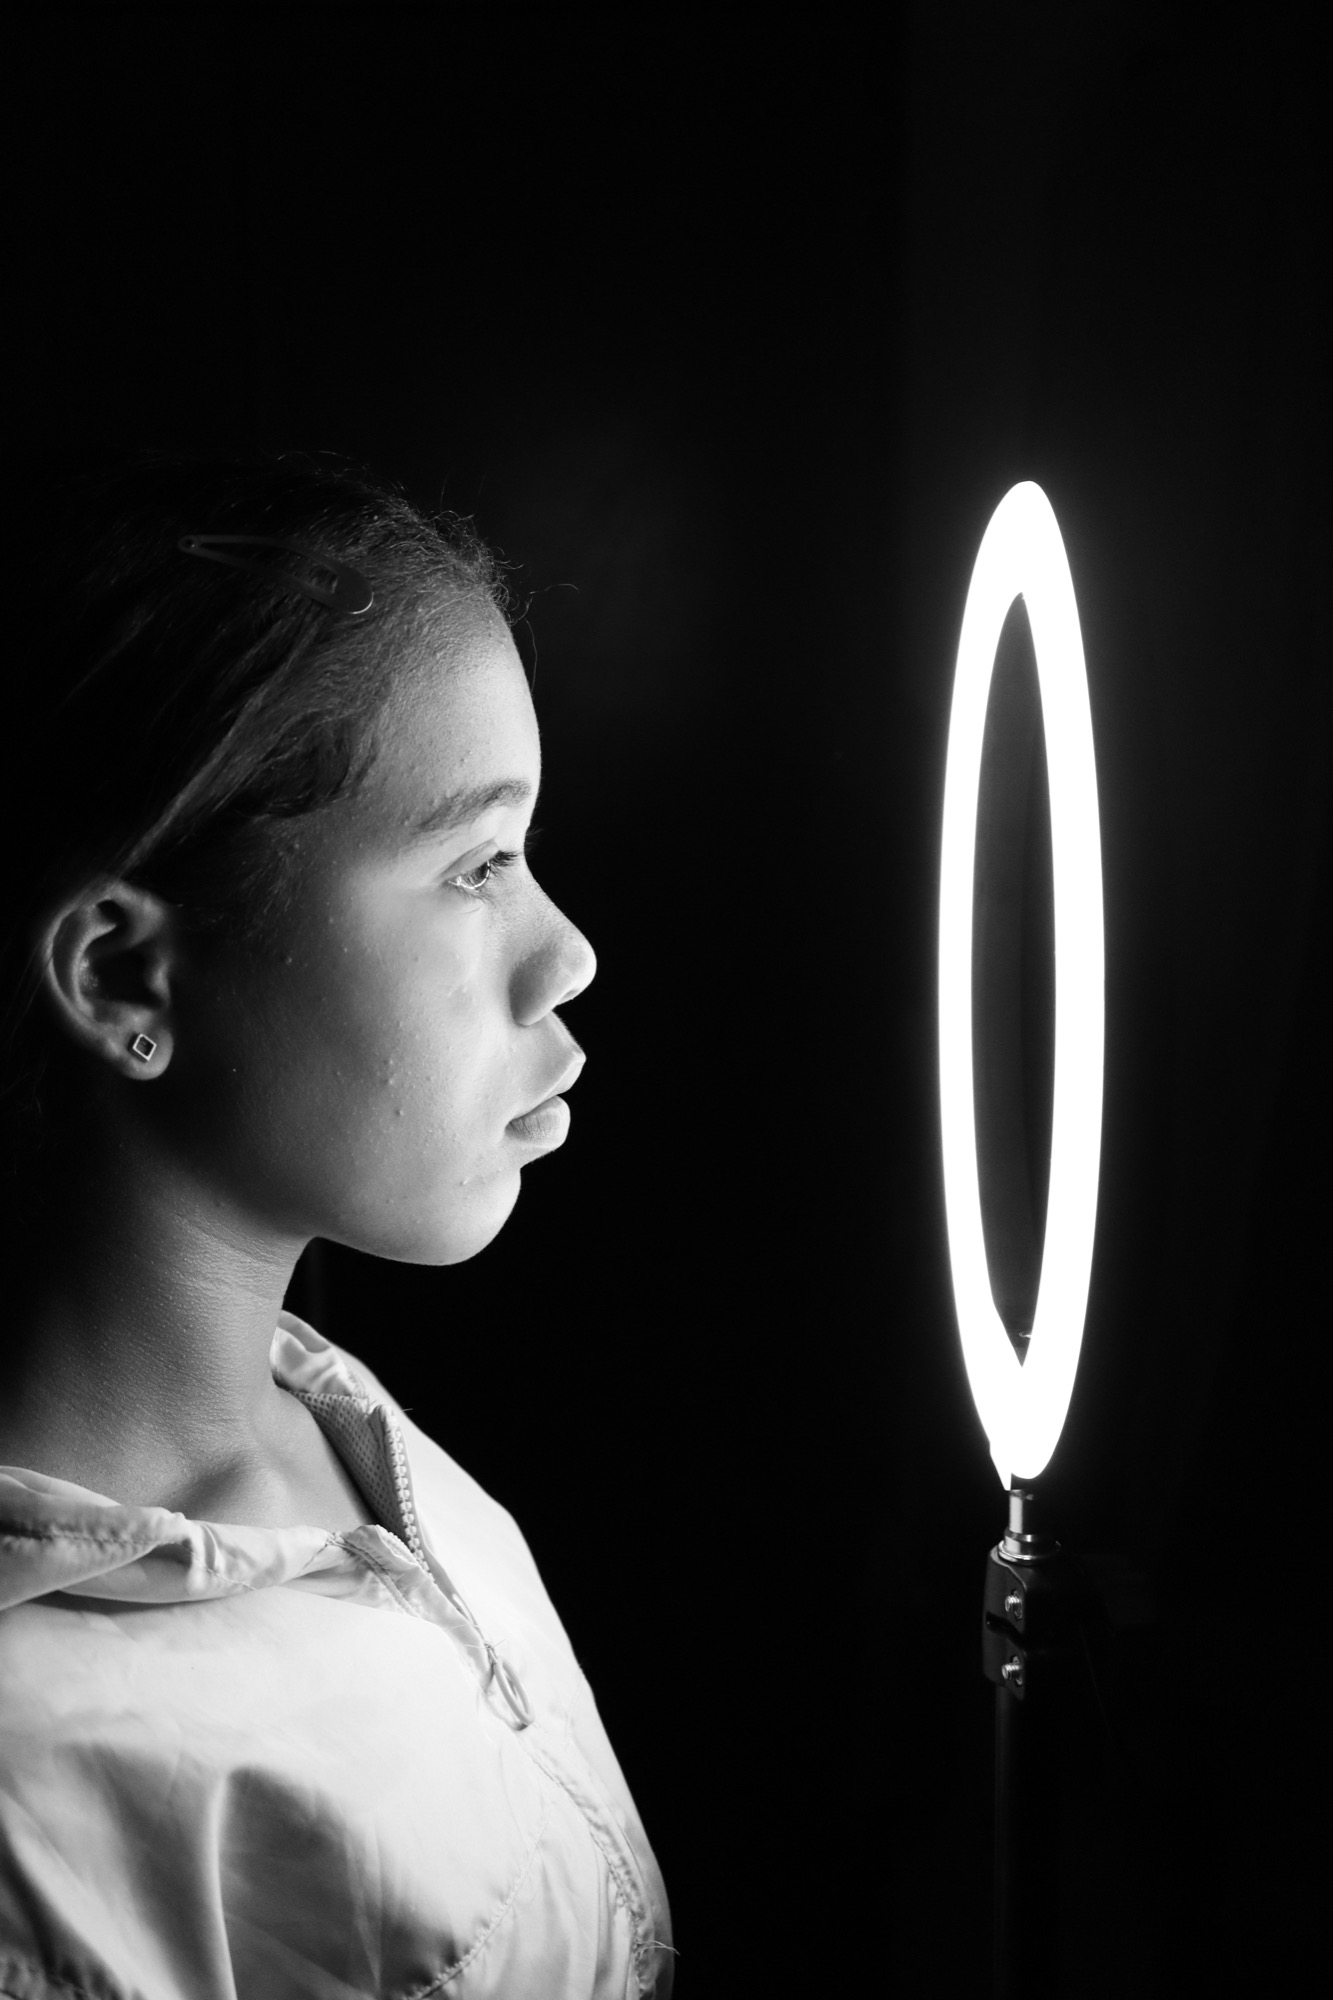
a girl with her face close to a ring of LEDs
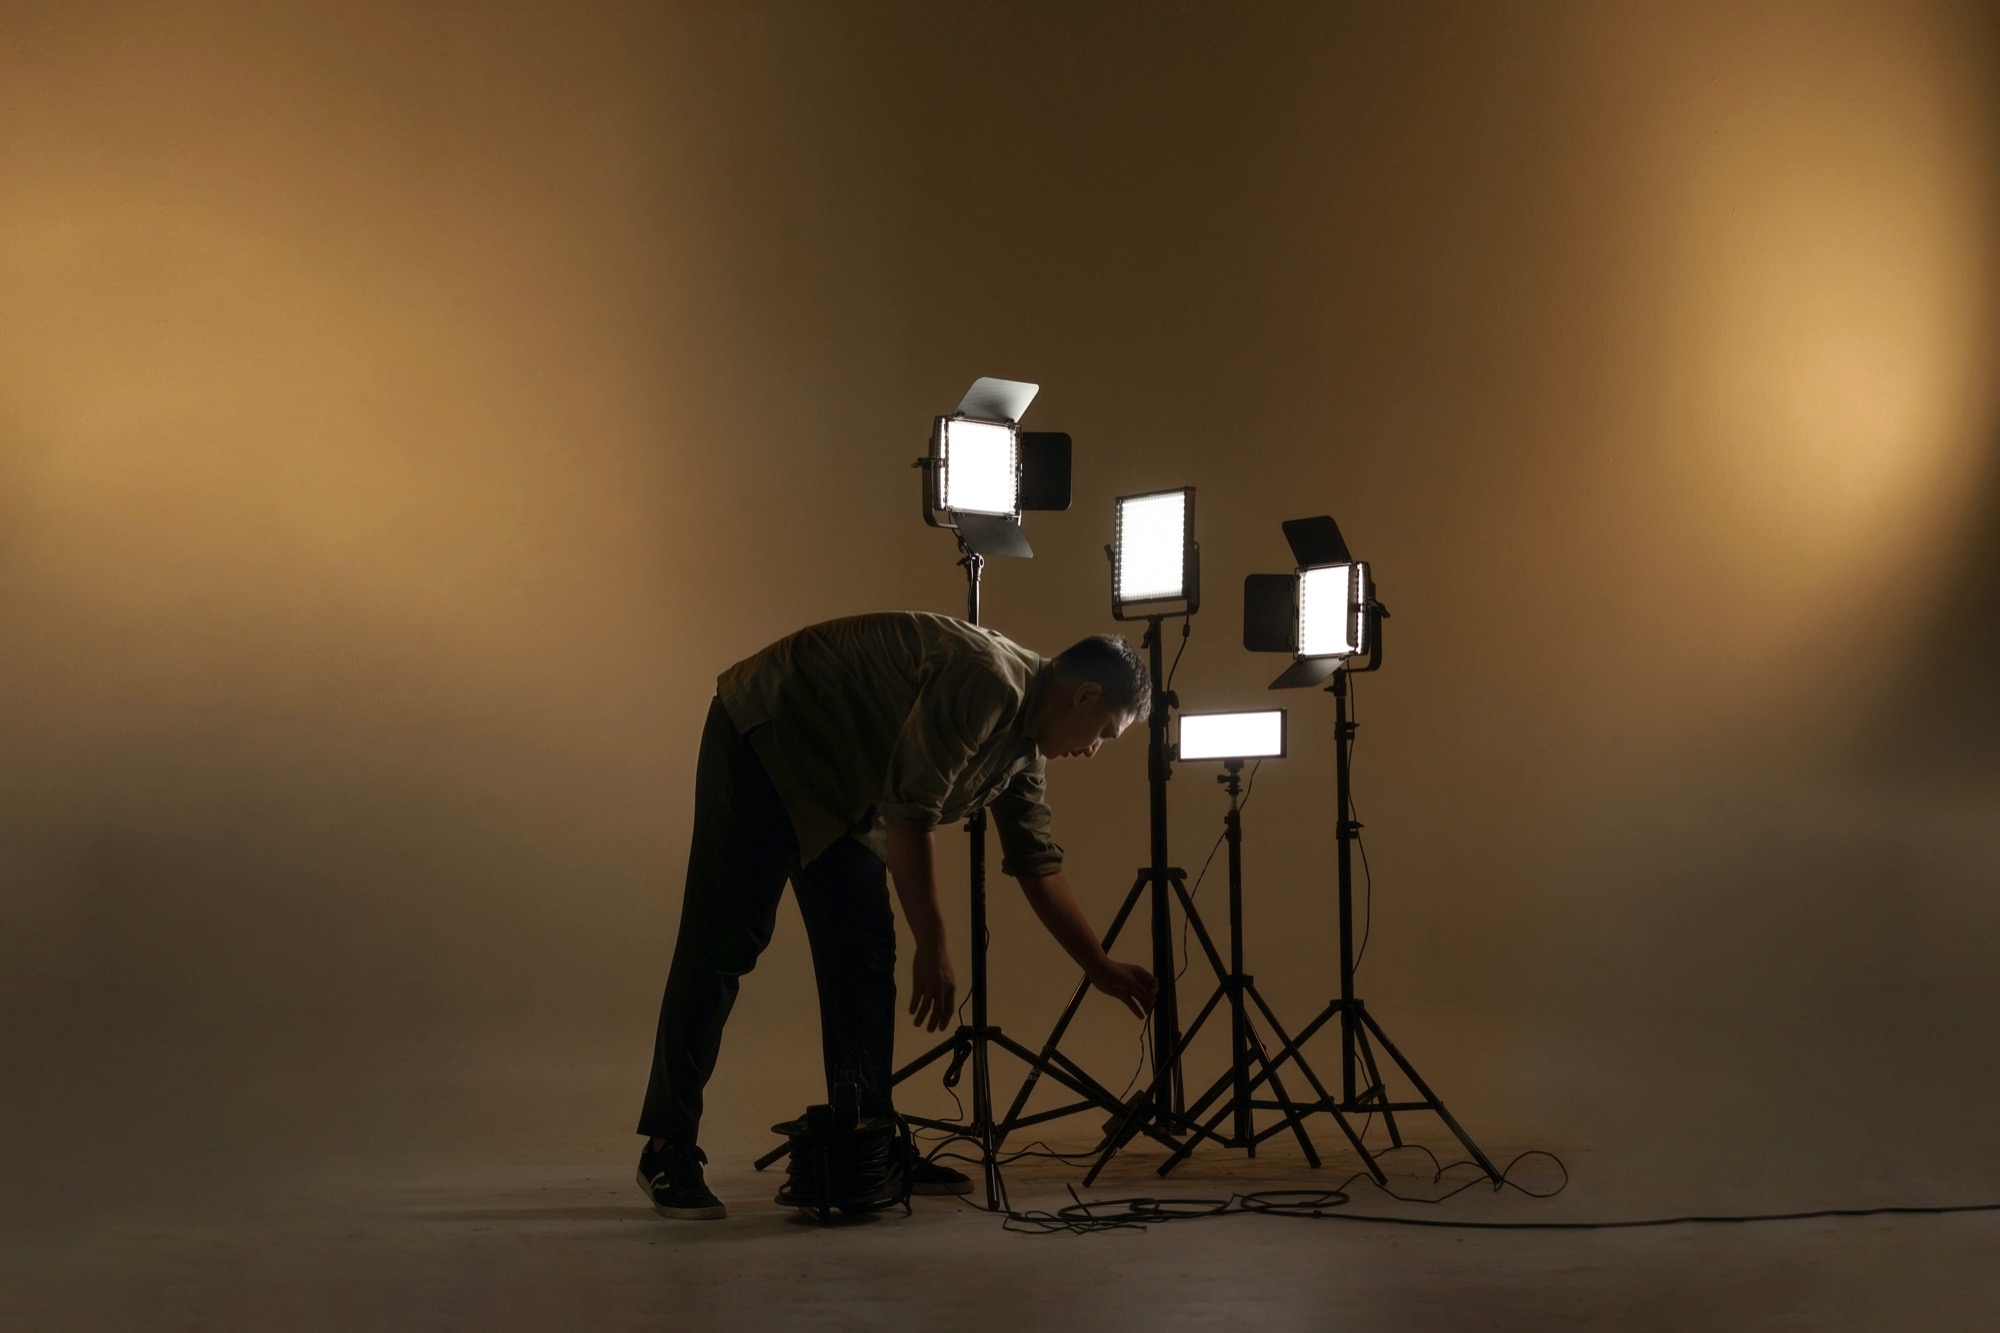
Strobe flashes: These lights emit a powerful burst of light like the one on your camera and are typically used in professional photography studios. They produce professional studio quality photos. To use a strobe flash your iPad must be connected to a USB camera, because the strobe flash syncs with the USB camera. Strobe flashes more expensive than constant lights and require more setup time, but if done well, will produce a sharper more professional image.
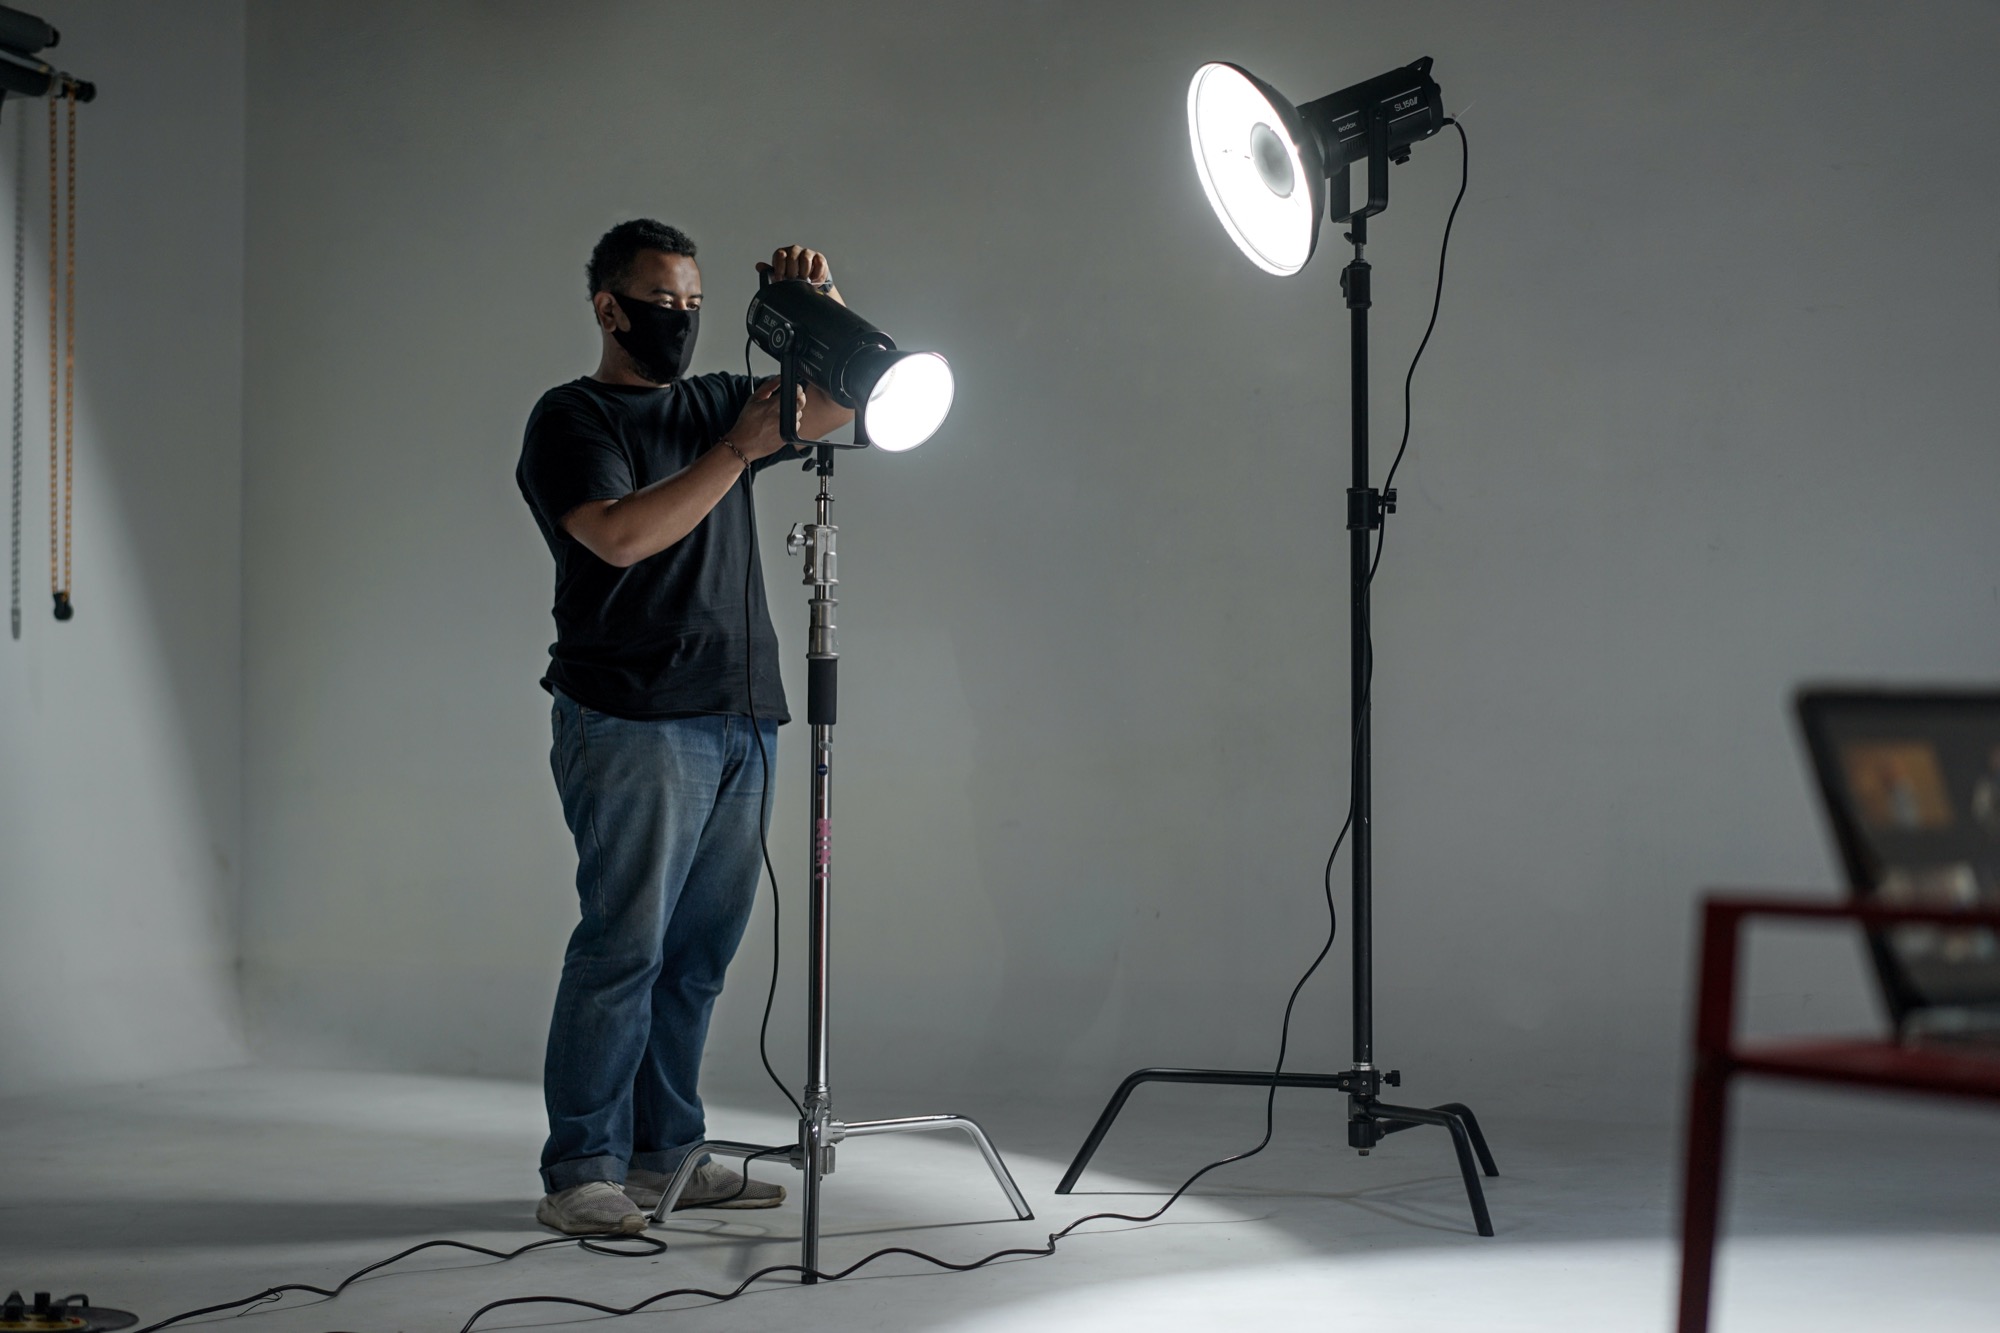
A man setting up his strobe flashes
Umbrella lights: These strobe flashes are attached to an umbrella-shaped diffuser which helps to spread light and create a softer illumination. They are versatile for unique lighting requirements and can "bounce" light off of walls and objects. They are ideal for large venues and outdoor events because they can cover a wide area with light. However, umbrella lights can sometimes create harsher shadows than softboxes because the light is less directional. Best for covering large areas and outdoor events
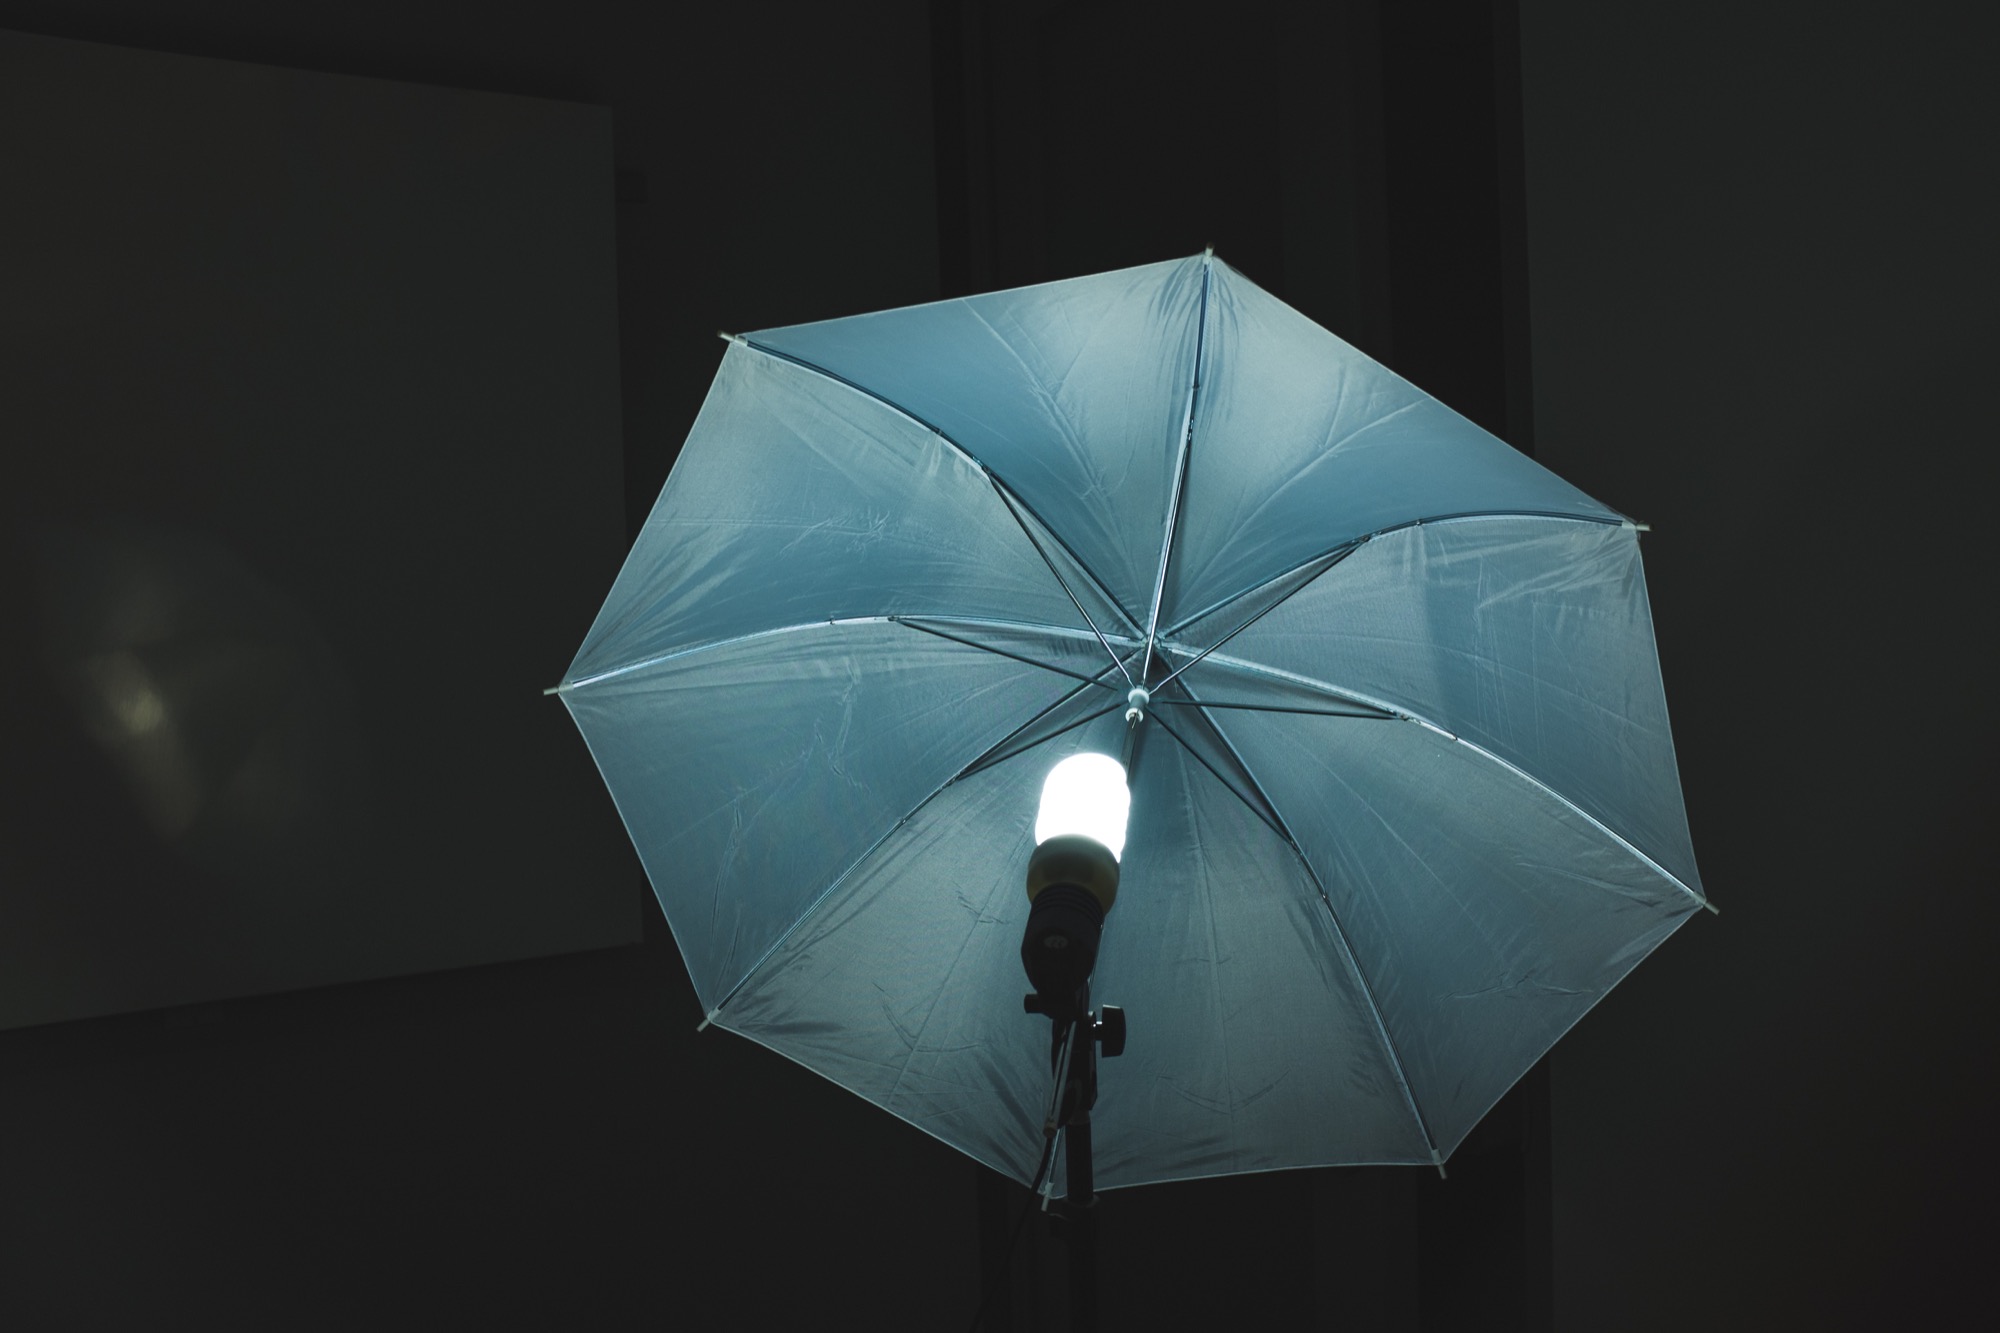
a light with a reflective umbrella
Softboxes: Similar to umbrella lights, but they diffuse light using a material to cover the opening of the umbrella, creating softer shadows on the subject. Softboxes are commonly used in studio photography because they provide a soft, even light that can be adjusted to the photographer's preference. They are easier to use than umbrellas because they don't require as much finesse to control the direction and intensity of the light. However, they are more expensive and difficult to set up than umbrella lights. It ultimately comes down to the photographer's preferences and the specific lighting needs of the project.

two soft box lights around a black backdrop in a school gym
Things to consider
1. Bring more than you think you'll need: It is always better to be overprepared. Bring extra lighting equipment, including power bars, extension cords, and batteries, to ensure that you're ready for anything. Running out of power or not having the lights you need can ruin an otherwise successful event.
2. Position your lights strategically: The position of your lights can make a significant difference in the final result of your photos. Consider the distance between the lights and the subject, as well as the angle at which they're pointed. There is no right or wrong answer here but a safe bet is to position your lights at a 45-degree angle to the subject to create contrast and shadows on the subject's face. And remember, the further away the light source is, the softer it will be.
3. Establish the dominant light source: You should always do your best to be the one controlling the dominant light source. This means that your lighting should be the brightest and most consistent in the space. Establishing the dominant light source ensures that your photos will be well-lit and consistent, regardless of the changing ambient lighting conditions in the venue.
Tip: Scope out the venue before a few days before the event at the same time of day that the event is going to be. Figure out what and where the ambient and dominant light is. This will help you to determine a strategy for ideal lighting conditions.
Tip: Scope out the venue before a few days before the event at the same time of day that the event is going to be. Figure out what and where the ambient and dominant light is. This will help you to determine a strategy for ideal lighting conditions.
4. Pay attention to color temperature: Different types of lights have different color temperatures, which can affect the overall mood and tone of your photos. For example, tungsten bulbs emit warm, orange-toned light, while LED panels can be adjusted to emit cooler or warmer light. Be aware of the color temperature of your lighting equipment and adjust it as necessary to achieve the desired effect.
5. Use bouncing and diffusion techniques: Bouncing light against a white wall or using a diffuser can help to soften the light and reduce harsh shadows on the subject's face. Soft light is generally more flattering and creates a more natural-looking photo. Experiment with different bouncing and diffusion techniques to find the ones that work best for your photo booth setup.
6. Keep a cool head: Preparing for an event can be stressful, but it's important to stay calm to ensure that everything runs smoothly. Remember that your clients are counting on you to provide a fun and memorable experience, so take a deep breath and trust in your skills, equipment, and preparation. If you feel overwhelmed or anxious, take a break for a few minutes. Remember that mistakes can happen, and it's okay to ask for help if you need it. By staying relaxed you'll be able to handle any unexpected situations that may arise, and react with a clear head.
Quick tips
- There are a lot of variables, so make one small change, take a photo, and check the results
- Experiment with different lighting techniques and equipment to find what works best for your setup
- Don't be afraid to ask for feedback from clients and mentors to improve your knowledge and skills
- Practice makes perfect, so keep practicing to hone your skills
- Keep in mind how incredible it is that you are creating memories for your clients
By keeping all of this in mind you'll be able to create well-lit and high-quality photos that your clients will cherish. Don't be afraid to experiment with different lighting techniques and equipment to find the ones that work best for your setup. With practice and experience you'll be able to create stunning photos that capture the real feeling of any event.